AIP591 S1 Yokogawa Optical Transceiver Unit for V net Repeater

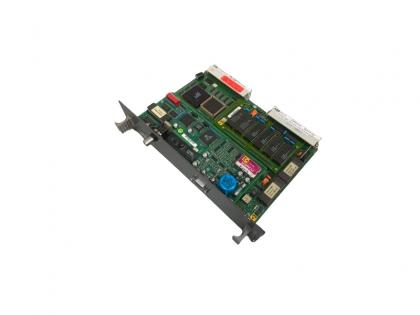
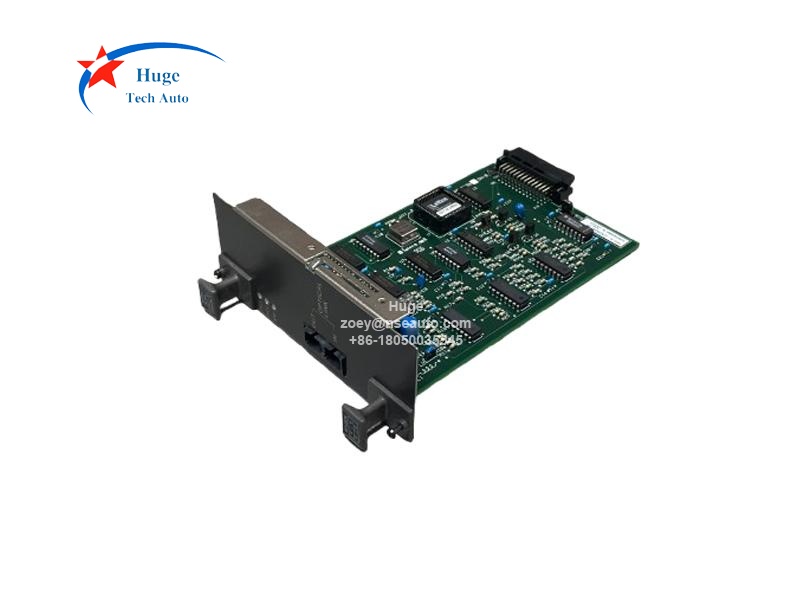
Yokogawa Optical Transceiver Unit for V net Repeater AIP591

  • Brand:

    YOKOGAWA
  • Item NO.:

    AIP591
  • Order(MOQ):

    1 PC
  • Payment:

    T/T
  • Product Origin:

    Japan
  • Shipping Port:

    XIAMEN
  • Lead Time:

    IN STOCK
  • Warranty:

    1 Year
Product Detail
AIP591 Yokogawa Optical Transceiver Unit for V net Repeater
Description:
AIP591 is the Optical Transceiver Unit for V net Repeat manufactured by Yokogawa. It is used for optical fibers. Linked to the controller, AIP591 modulates and demodulated optic, and transmits and receives optical signals to/from another connected identical unit through a pair of optical fibers, thus accomplishing transfer of a bus signal in a form of optical signal. 
The max transmission distance of AIP591 is 15km. There are 3 lamps((RDY, RCV and SND) in the front panel. The temperature range is 0-50℃.

Q&A:
1. How to set the AIP591?
▪ For normal operation, set the jumper on NORMAL side.
▪ For echo-back (Self-diagnosis), set the jumper on ECB side
2. How to Replace the Optical Transceiver? 
▪ Removal Procedure
(1Turn off the power for the optical transceiver to be removed.
(2) Also turn off the power for the mating optical transceiver.
(3 Disconnect the optical cord from the optical transceiver. Hold the knurled surface of the optical cord and pull out for about 1mm, then the lock will bereleased.
(4 Handle the optical connector and optical cord for the optical transceiver carefully, observing the precautions described above.
(5 Loosen the two mounting screws securing the optical transceiver to the nest. The mounting screws need not be removed.
(6 Hold the handles attached at the top and bottom of the front side of the optical transceiverand remove the unit by pulling the handles forward.
▪ Installation Procedure
(1Slide the optical transceiver along the guide rail of the nest, and insert it securely into the back board connector.
(2) Secure the optical transceiver to the nest from the front, by using the mounting screws.
(3 Connect the optical cord to the optical connector of the optical transceiver. Holding the knurled surface of the optical cord plug, align the key section with the optical connector groove and push the plug into the connector. (SC type optical cord). A click sound indicates that the plug is locked into the optical connector.
(4 After turning on the power, check if the RDY lamp on the front of the optical transceiver is lit indicating that the unit is operating normally.
3. What's the warranty period?

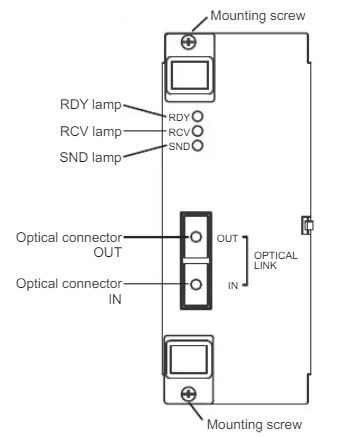
We supply 1 year warranty.

AIP591

AIP591

AIP591

Send Us An Inquiry

If you are interested in our products and want to know more details,please leave a message here,we will reply you as soon as we can.

Send Us An Inquiry

Send Us An Inquiry
If you are interested in our products and want to know more details,please leave a message here,we will reply you as soon as we can.

Home

Products

whatsapp